
Coffered Ceiling Painting in Damascus, OR:
Expert Prep, Emerald Urethane Finish & A True Team Effort
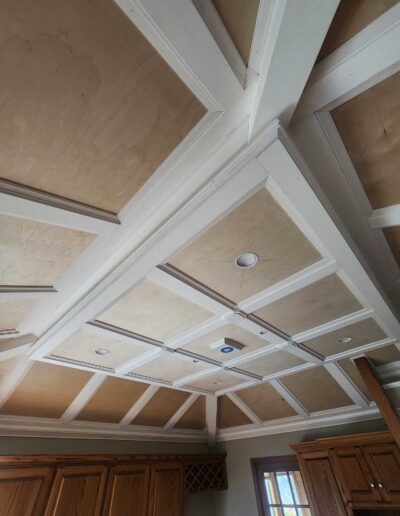
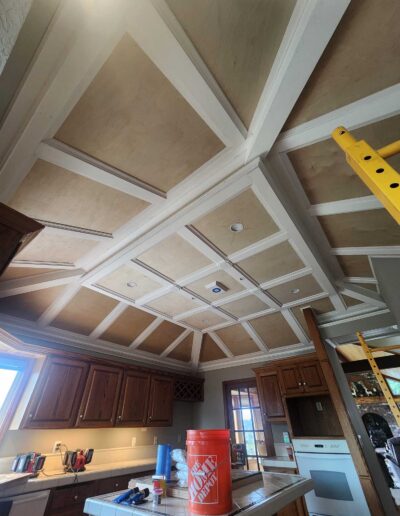
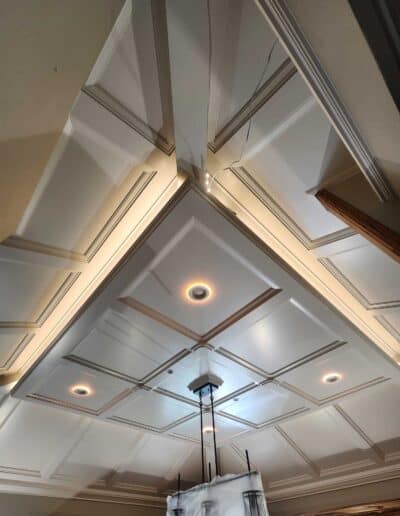
This coffered ceiling painting project in Damascus, Oregon, was a true partnership between our team and a skilled homeowner who had custom-built the ceiling. Together, we developed a strategy to deliver a premium-level finish that transformed the heart of the home.
Collaborating on the Build for Paint-Ready Perfection
Before a single brush or sprayer was used, we worked closely with the homeowner—who had constructed the coffered ceiling himself—to select the right materials for both structural strength and paintability.
- Rather than using traditional MDF, we determined that a combination of smooth wood paneling and pre-primed finger-jointed pine trim would be ideal for a flawless finish.
- This material choice minimized swelling from nails, allowed for precise detail sanding, and provided a superior surface for primer and paint.
- Taking the time to plan the install with paint prep in mind gave us a solid foundation for success and was key to the high-end result.
Full Dust Control and Site Containment
Given that the coffered ceiling was located above the kitchen, we prioritized cleanliness and dust control throughout the job:
- The entire kitchen was fully masked and sealed with plastic sheeting, protecting cabinetry, countertops, and fixtures from overspray and dust.
- We used air scrubbers and exhaust ventilation to maintain clean air quality during sanding, priming, and spraying.
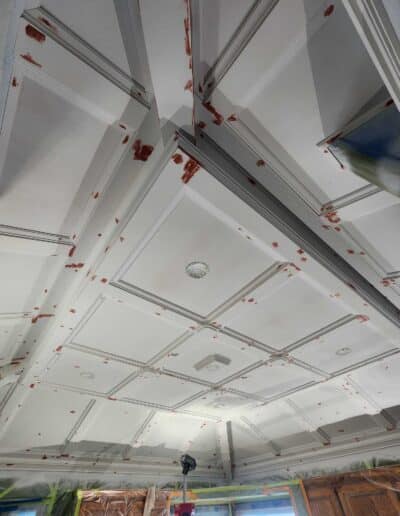
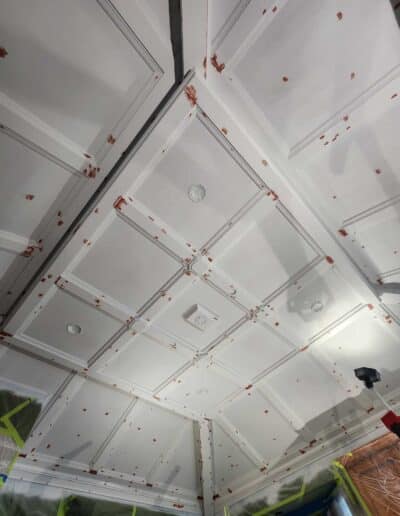
Step-by-Step Prep for a Flawless Finish
A premium coffered ceiling demands a premium prep process. Our steps included:
- Sanding all surfaces to smooth joints and eliminate any mill glaze from the pre-primed pine
- Nail hole filling between coats with high-grade filler for a seamless look
- Crack repairs using Bondo, a durable, sandable filler ideal for detailed trim work
- Applying two full coats of oil-based primer for deep sealing and adhesion
- Caulking all seams, corners, and trim transitions after priming using a high-quality water-based caulk to ensure clean paint lines without shrinkage
This layered prep ensured that every detail—from recessed panels to crown transitions—looked as sharp up close as it did from across the room.
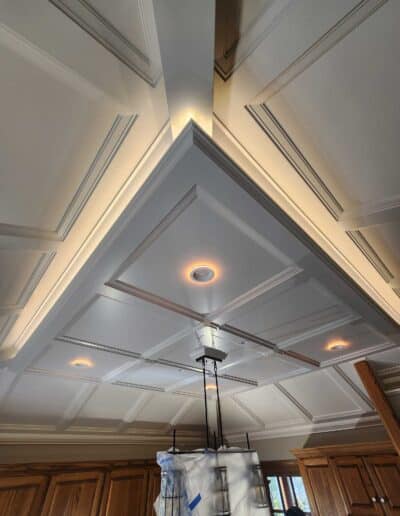
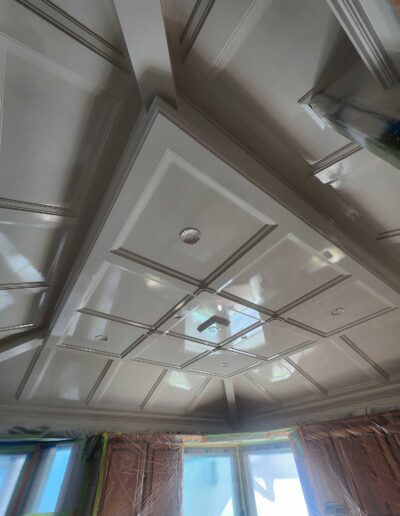
Spraying 3 Coats of Emerald Urethane Satin
With the prep complete, we moved into the final stage: finishing the ceiling with Sherwin-Williams Emerald Urethane Trim Enamel in a satin sheen.
- We applied three full coats via spray, using an airless sprayer to deliver an ultra-smooth, brush-free finish.
- Between each coat, we conducted light sanding and dust removal to maintain a pristine surface.
- The satin sheen provided a soft, elegant glow that enhanced the ceiling’s depth and craftsmanship without excessive shine.
A Team Effort That Elevated the Entire Room
What truly made this Damascus project special was the collaborative effort with the homeowner, who trusted our guidance on materials and sequencing. Their willingness to plan ahead and build with paint in mind gave us the perfect canvas to work from—and it shows in every clean line and smooth edge.